Blog
How to block a hat with a groove?

Pillbox hat blocks with a groove on top or porkpie style crown blocks are very popular, but how do you achieve the perfect, smooth outline in the groove? In this post we will share some of the most often used techniques.
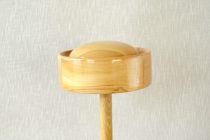
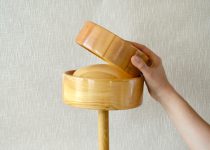
Blocking hats with a presser
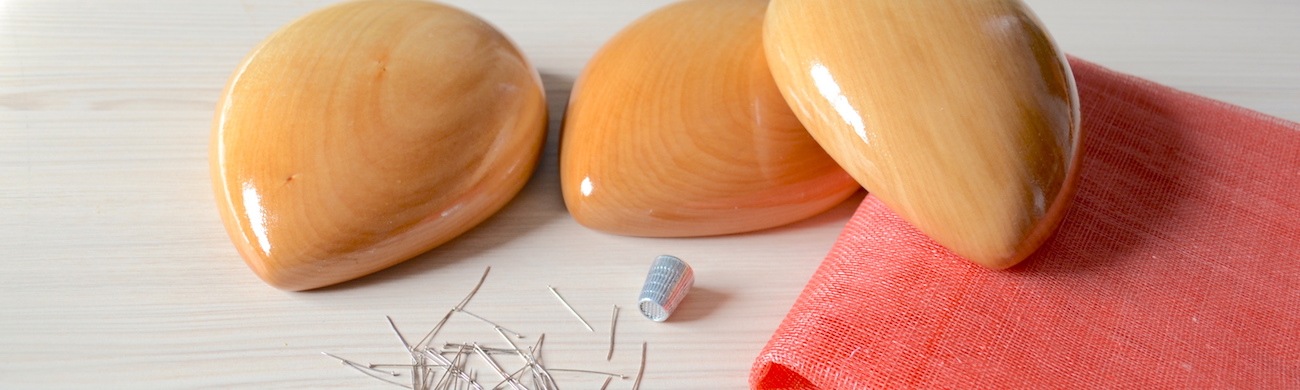
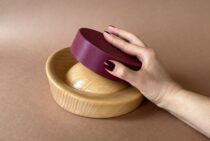
The most obvious and also easiest option is to order a presser with your hat block. It will be made to fit perfectly into the groove and you will not need to iron out (or steam out) any creases once the blocked material has dried. We offer wooden as well as PLA plastic pressers for your hat blocks. Remember to cover a wooden presser with a cling film/ plastic bag as well.


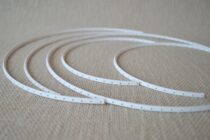
Using blocking cords
For situations when you don’t have a presser but still want to get great results e have created special blocking cords. The blocking cords are our own unique design, created to make the blocking of hats with sharp-edge grooves easy. The cords have a V shaped base, this will allow you to block a nice, sharp groove.
The blocking cords come in sets of 5. The set includes blocking cords in different lengths – 32-74cm. The cord can also be cut to desired length with wire cutters.
Creative blocking
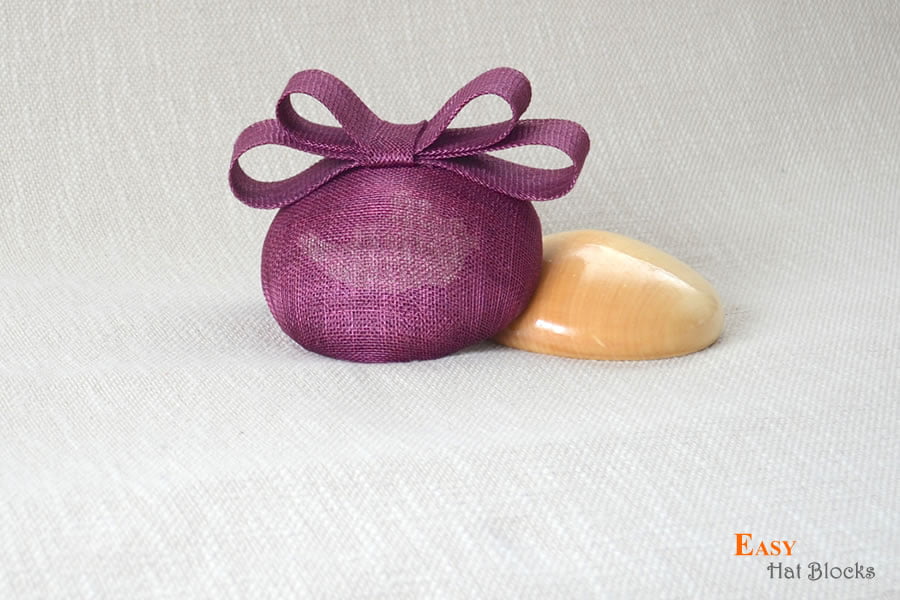
Sometimes another smaller pillbox hat block can be the right size to work as a presser. It has to have the right diameter as well as height/ depth to press fully into the groove.
But what to do when you do not have a presser?

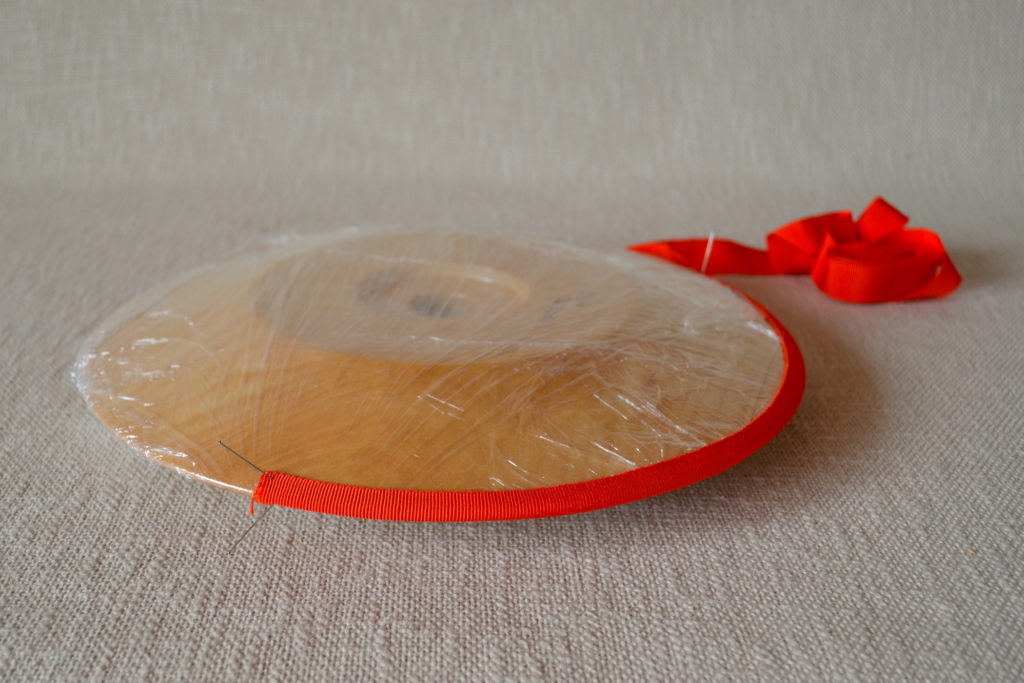
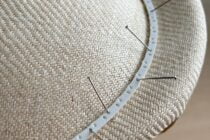
Blocking with a rope or string
One of the most popular methods is a rope or string that you use to pin down the material. You can use a thin string if you need a sharp line or a thicker rope if the hat block has a wider groove. When choosing the rope make sure that the colour of the rope does not bleed and damage your hat. This is why we would recommend choosing a rope from a synthetic material rather natural fibres. If you would like to re-use the rope on a different colour hat, you may want to cover it with cling film as some colour may bleed into the rope and then can damage the next hat you create. Some ropes have a very rough texture, you can cover the rope with a petersham ribbon so that it does not leave very deep marks on the hat. In any case once the hat has dried, remove the rope and iron out any unwanted marks. Remember to place some parchment paper, thin cotton fabric or a piece from the straw the hat was made of on the hat before ironing it.

A note about the pins – you can read our blog post on blocking pins here. When blocking with a rope you will need proper millinery or dressmaking pins, that are tall and strong enough for this task. If you have just purchased a new set of pins, better test them on some scrap of felt or straw to see if they do not leave rust marks.
You can also use some tubing materials or reeds when blocking a groove. Just make sure that it is possible to pin them and that they do not bleed and damage the hat.

Blocking hats with bowls and cups
Milliners are so creative when it comes to working with what they have. Sometimes you can find a presser in your kitchen cupboards. If your hat block groove has a circular outline measure the diameter and try finding a circular object that you can use – a bowl, cup, small cake pan etc. If it is made of plastic you may want to test how it reacts to steam, especially if you are blocking a felt hat.
Was this blog post useful? Do you have your own unique blocking method? Share it below in the comments, we would love to hear.